
Solar Powered Water Meter using ESPhome
Overview
Home Assistant has added water as a utility :-) Yay!!
A while ago we created a meter reader using a Zigbee window sensor, extending the reed switch to reach the meter and powering it with an external battery pack. This worked initially but became unreliable and so we wanted something more dependable.
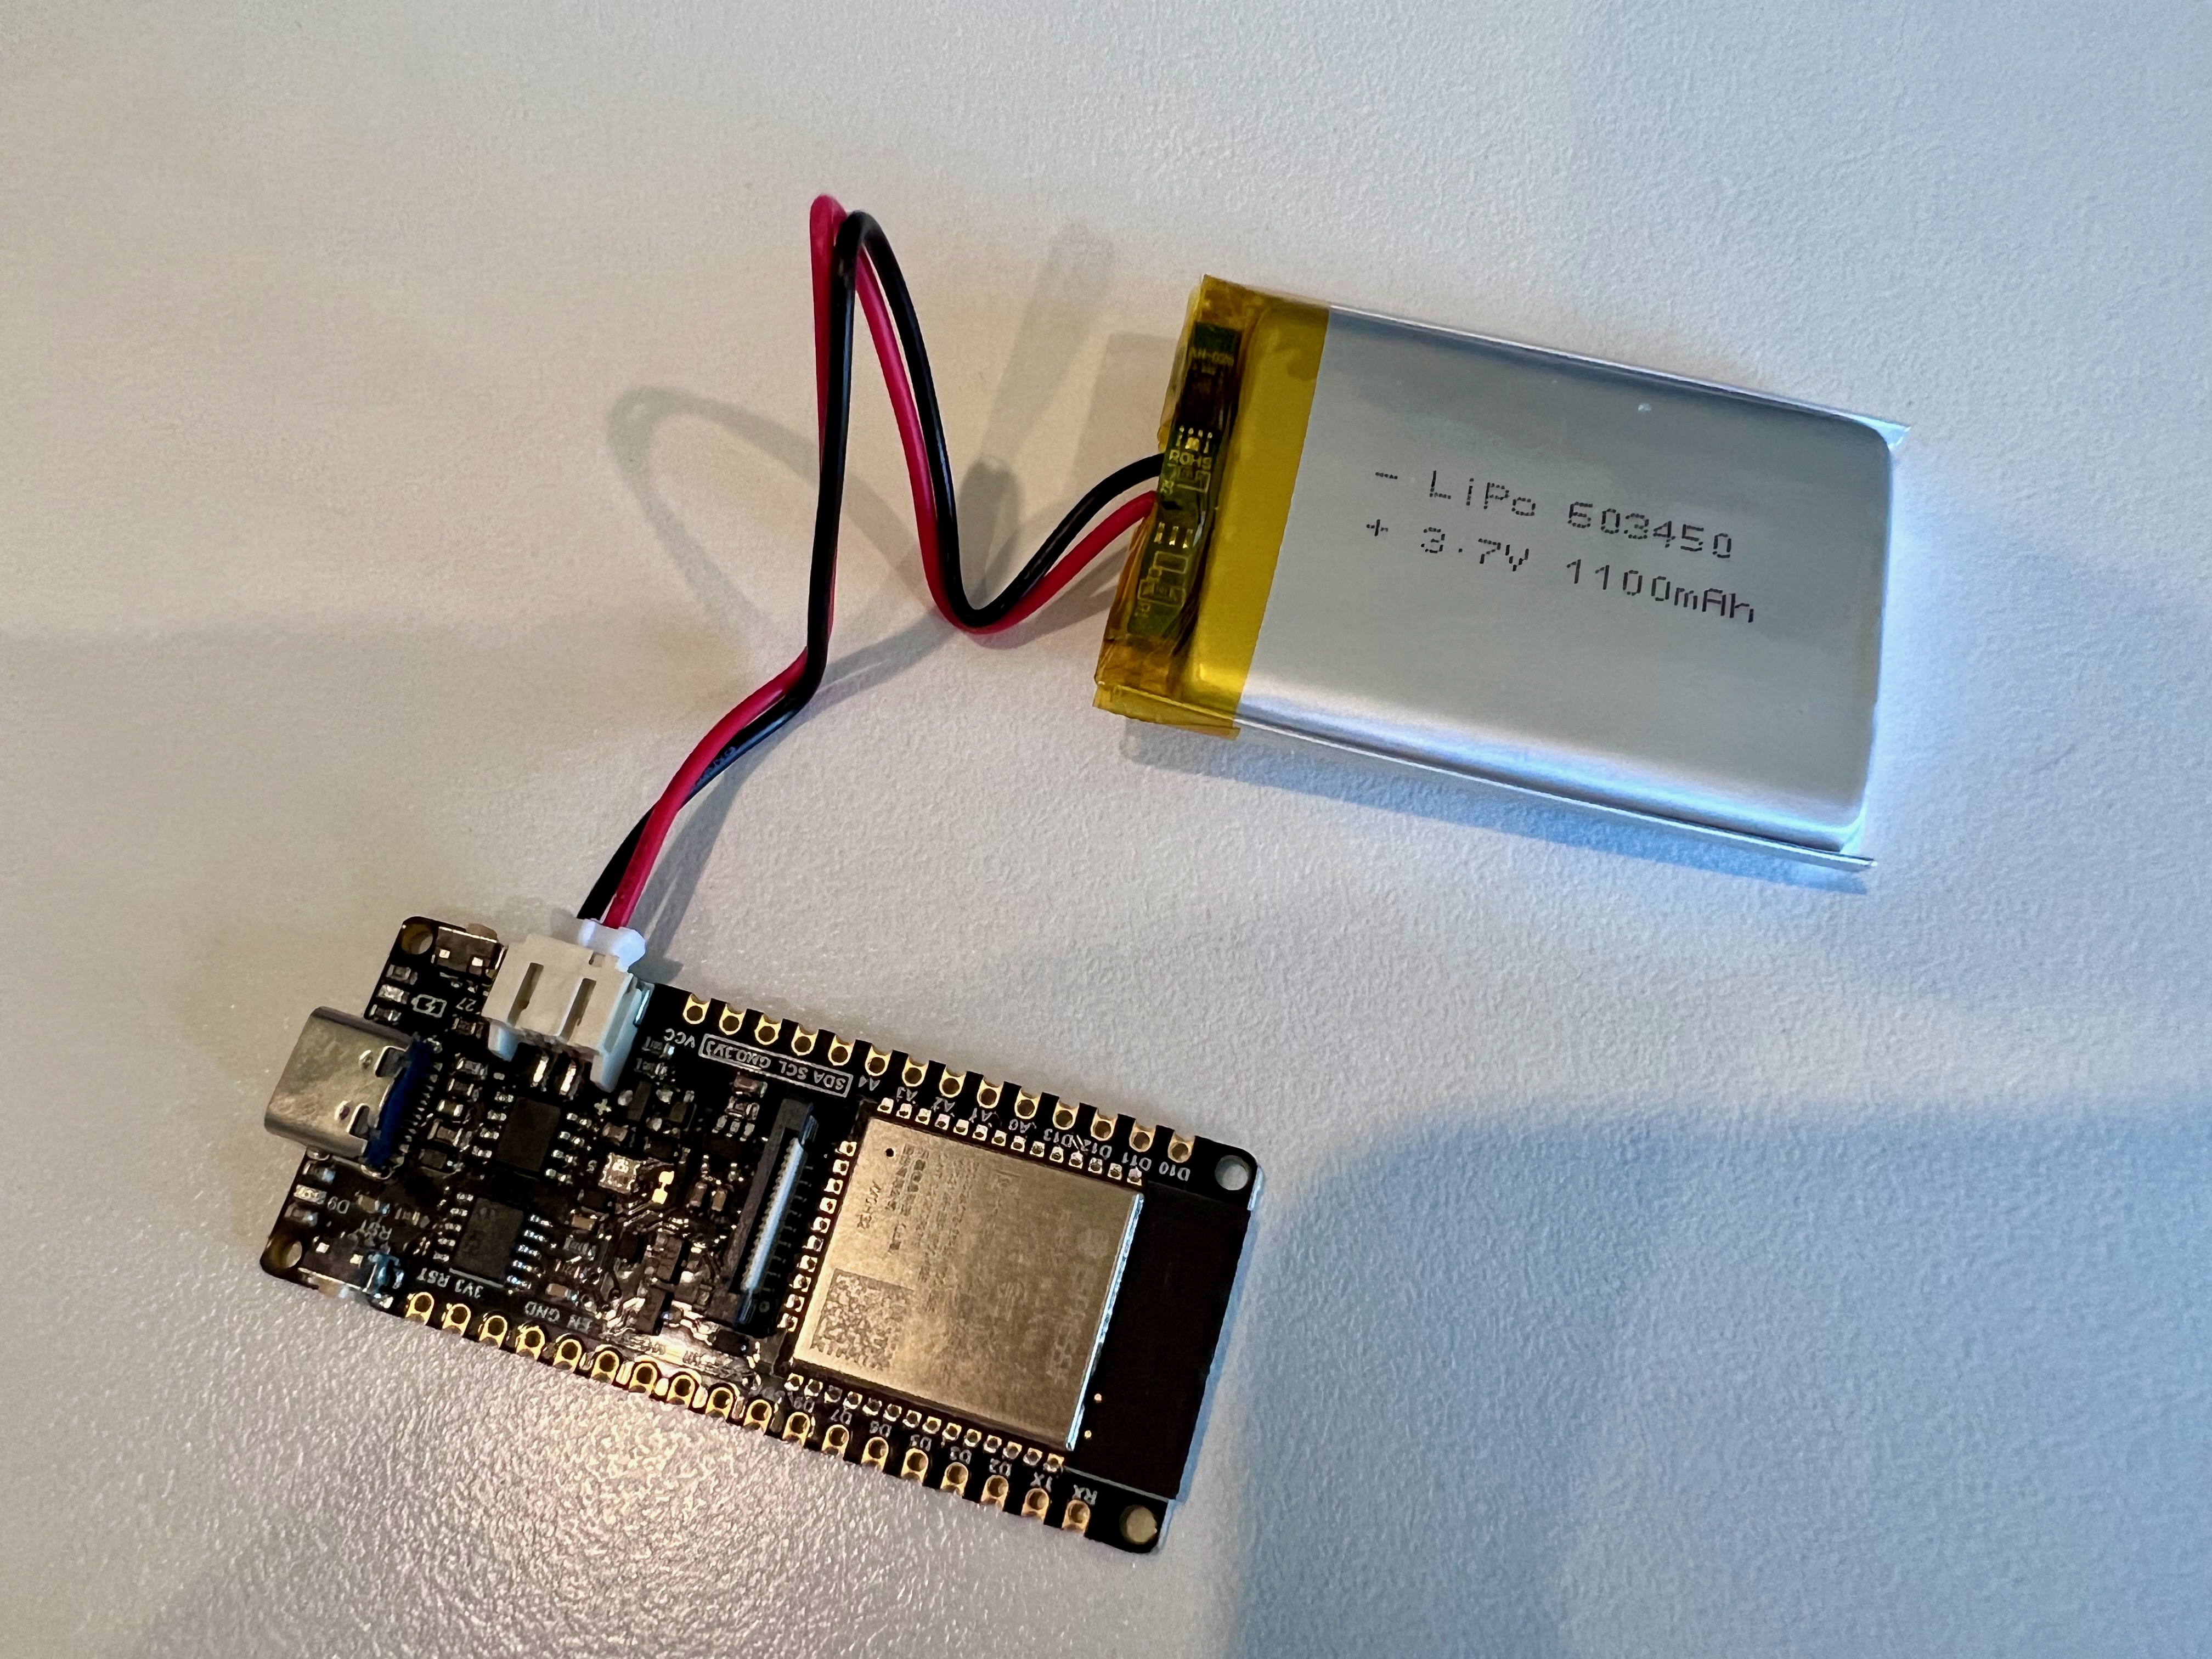
We have decided to go with an ESP32, Lipo Battery and Solar Cell to create a more self sustaining solution. We have good wifi, with an access point outside, and so decided to try with Wifi and move the BLE if needed. We looked for an ESP with battery management and external antenna but this seemed to be a unicorn and settled for the DFRobot with onboard antenna.
Kit List
3.5W Solar Charger- Affiliate https://amzn.to/3EQ9YO6
We don’t get paid for promotions or get free products, if we do, we will specifically let you know. Using affiliate links helps to support our work without any cost to you.
Initial Build
ESPhome
You will need ESPhome installed in Home Assistant and we will assume you have it working. There are lots of other sites describing how to get going with ESPhome.
We use MAC’s (both Intel and M1) and needed to install the CH34x Drivers. We downloaded and installed using the PKG file and then was prompted to hit the install button. This seemed to do nothing until we realised that the MAC Security Preferences was blocking. Once “Allowed” everything worked as expected.
We then created a “New Device” in ESPhome and connected the ESP via a USB cable. The YAML was pre-populated with the basics and we expanded upon this to include battery monitoring:
1
2
3
4
5
6
7
8
9
10
11
12
13
14
15
16
17
18
19
20
21
22
23
24
25
26
27
28
29
30
31
32
33
34
35
36
37
38
39
40
41
42
43
44
45
46
47
48
49
50
51
52
53
54
55
56
esphome:
  name: water-meter

esp32:
  board: esp32dev
  framework:
    type: arduino

# Enable logging
logger:

# Enable Home Assistant API
api:
  encryption:
    key: "*redacted*"

ota:
  password: "*redacted*"

wifi:
  ssid: !secret wifi_ssid
  password: !secret wifi_password

  # Enable fallback hotspot (captive portal) in case wifi connection fails
  ap:
    ssid: "Water-Meter Fallback Hotspot"
    password: "*redacted*"

captive_portal:

bluetooth_proxy:

esp32_ble_tracker:

sensor:
  - platform: adc
    pin: GPIO34
    name: "Water Meter Voltage"
    update_interval: 15s
    accuracy_decimals: 2
    attenuation: 11dB
    filters:
      - multiply: 1.95
    id: water_meter_battery_voltage
    entity_category: diagnostic
    unit_of_measurement: "V"
    device_class: battery
  - platform: template
    name: "Water Meter Battery Percentage"
    update_interval: 15s
    accuracy_decimals: 0
    lambda: |-
      return (((id(water_meter_battery_voltage).state-3) / 1.16) * 100.00);
    entity_category: diagnostic
    unit_of_measurement: "%"
    device_class: battery
The above YAML is specific to the DFRobot ESP32-E as it exposes battery info on GPIO34 rather than A0 or VCC. We had to use a multimeter to find the best “- multiply: 1.95” facture to match the displayed and measured voltage. We then assumed 3v would be the minimum, 4.16v would be maximum and the “lambda” function takes the delta and makes its a percentage.
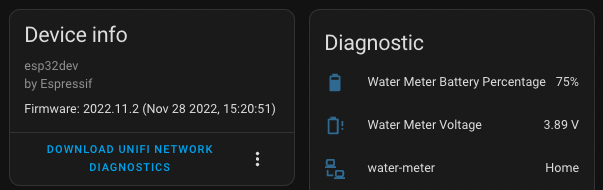
Once you have this basic setup working, you should at least have an integrated ESP32 reporting battery usage:
To Be Continued…..
This project is under active development and so please check back again soon to see progress.
ToDo:
- Add counter YAML
- Explore Deep_Sleep + Wifi quick connect
- Reduce battery & status reporting
- Test wake on GPIO trigger
- Test sleep on idle